Course Workflow
Create a course, build its structure, set purchase options, and publish
How courses work
A course is the unit students practice through. Inside a course you’ll build modules, then topics, then add questions. Once you’ve set pricing (if needed), you can publish the course.
Step-by-Step Guide
1 Create the Course
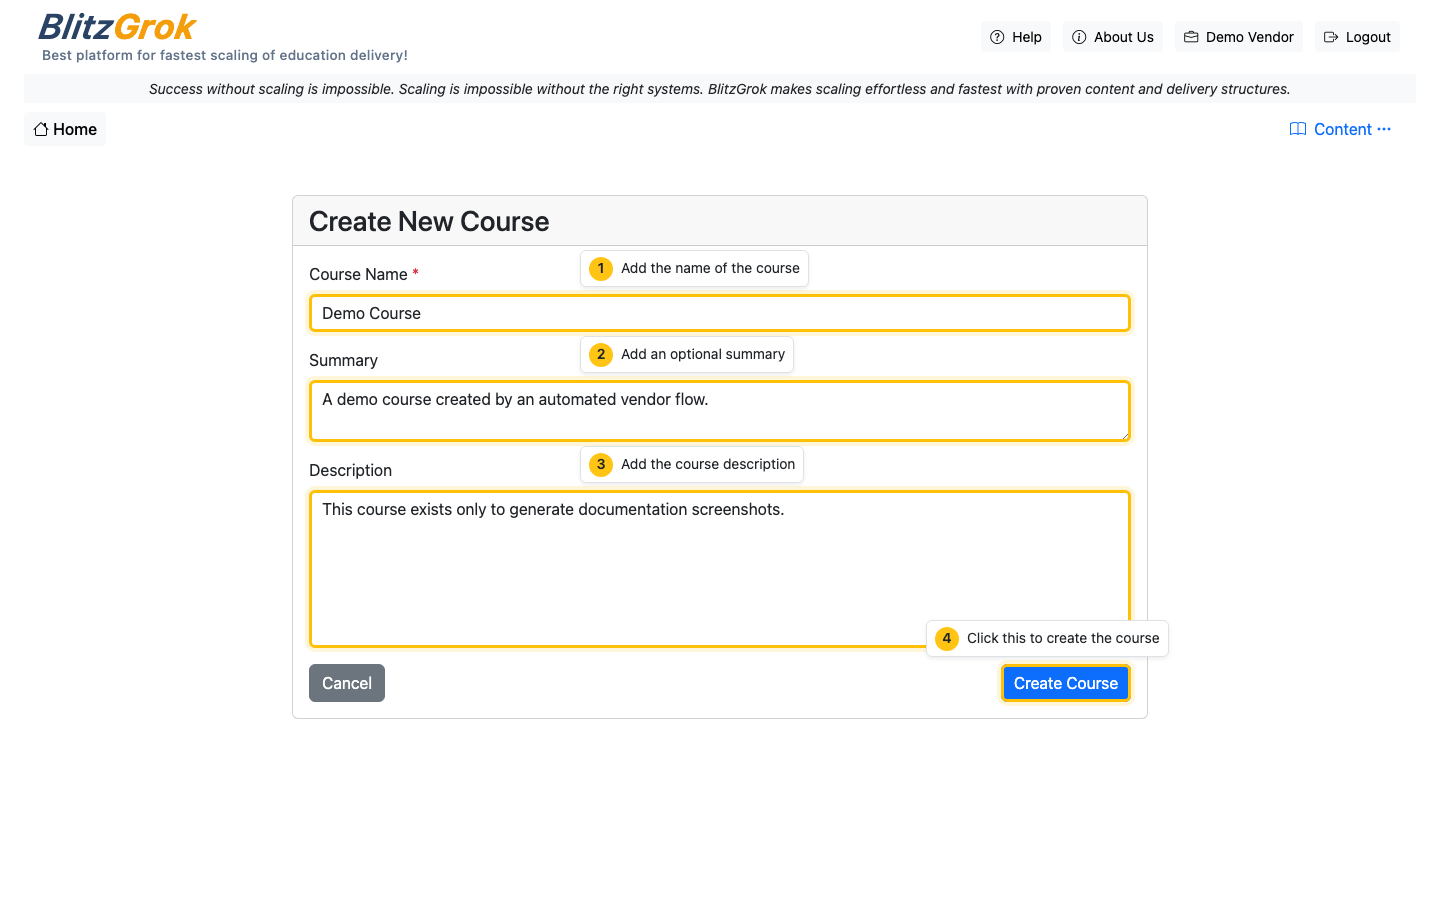
From your vendor dashboard, start a new course (either standalone, or inside a curriculum).
- Click “Add Course”
- Fill out the course name (required) and summary/description (recommended)
- Click Create Course


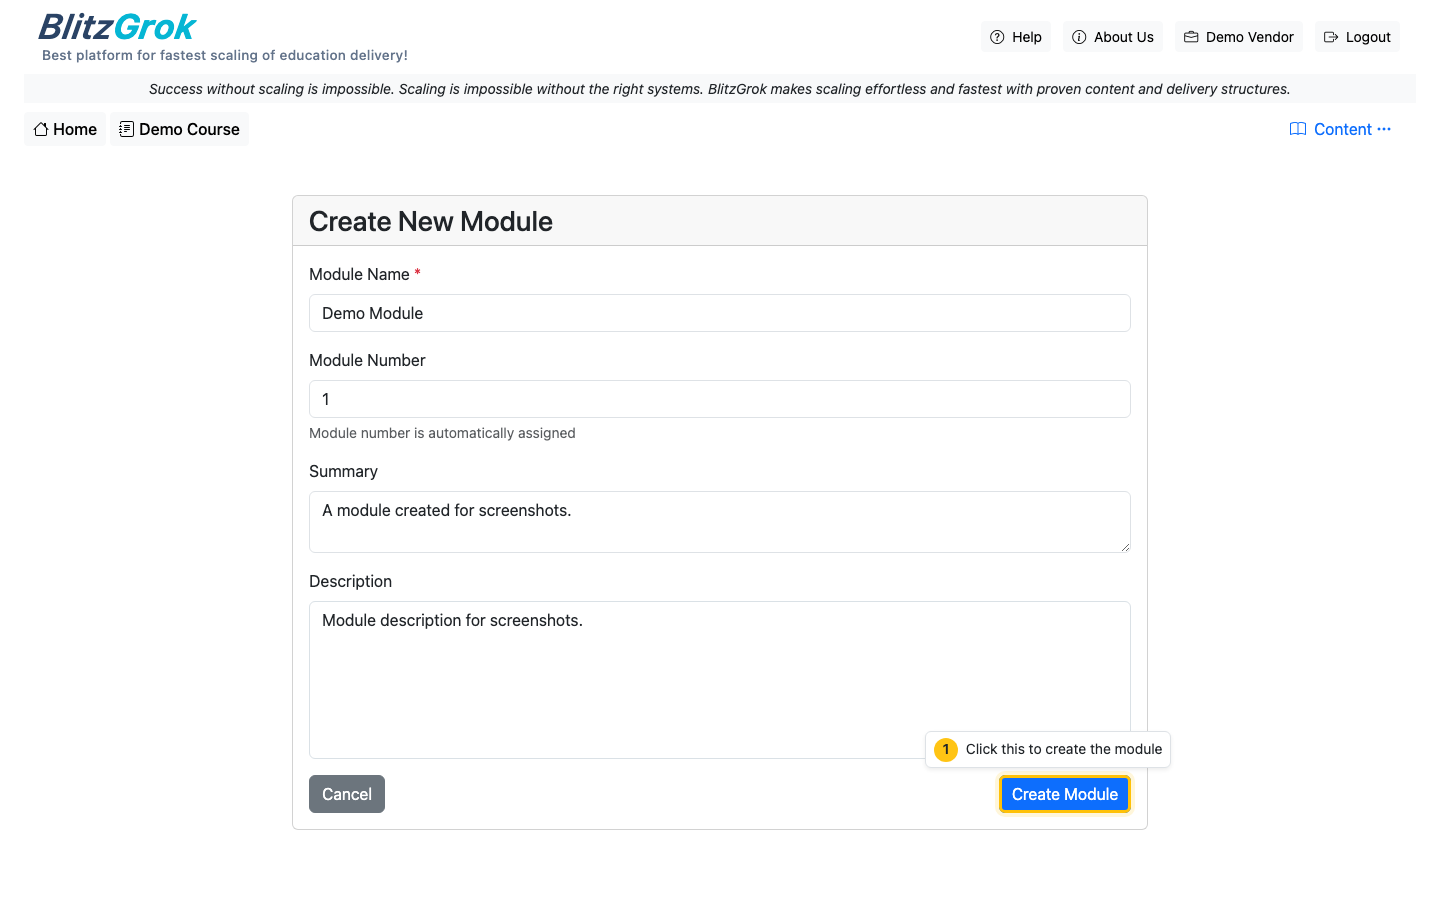
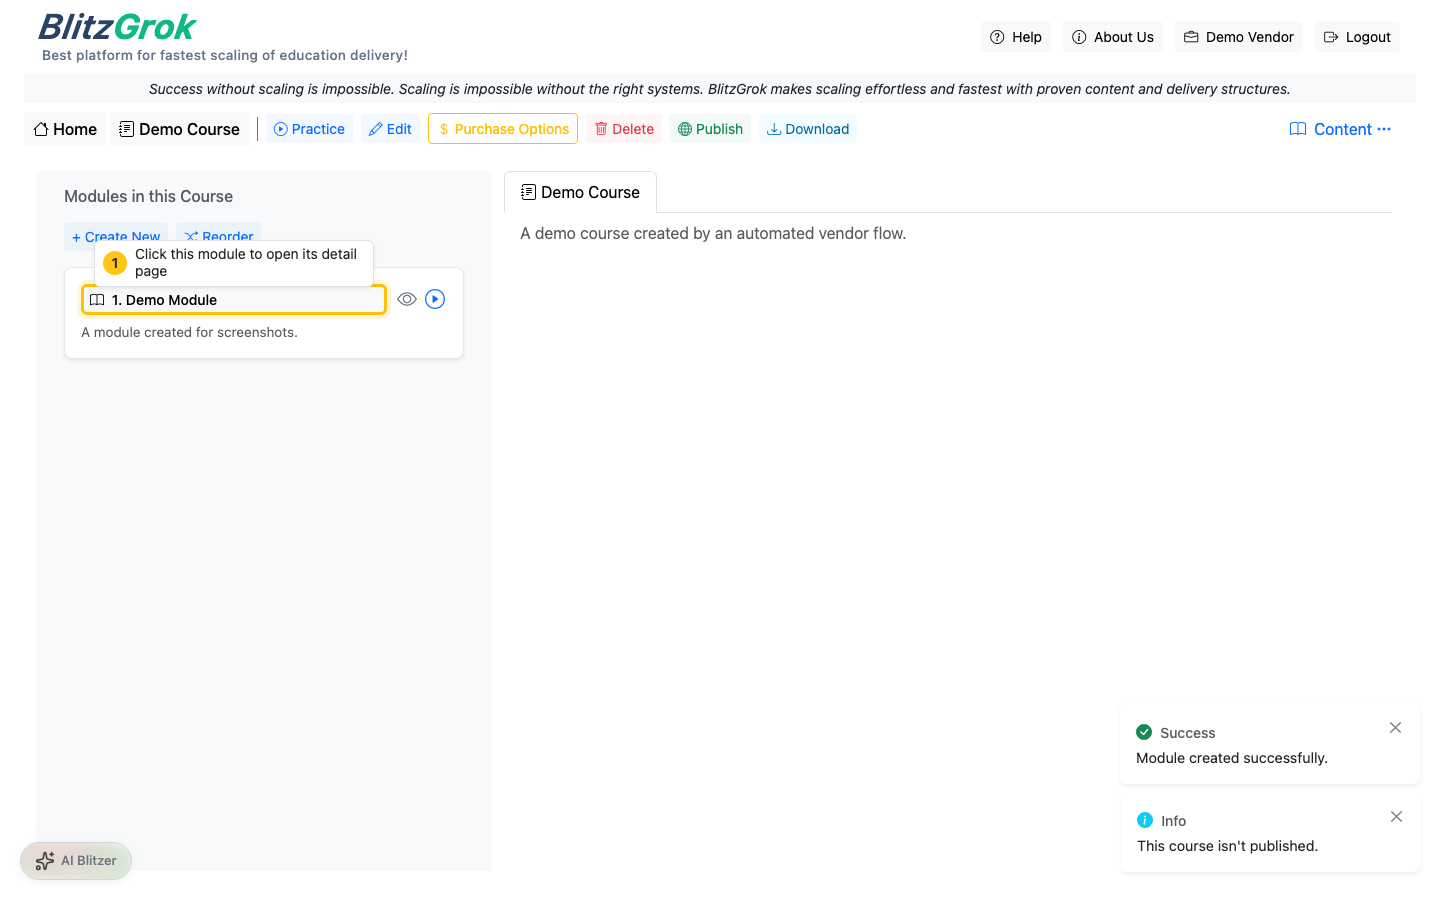
2 Add Modules
Modules break your course into focused learning steps.
- Open your course
- Use “Add Module”
- Keep modules small and ordered (students move sequentially)
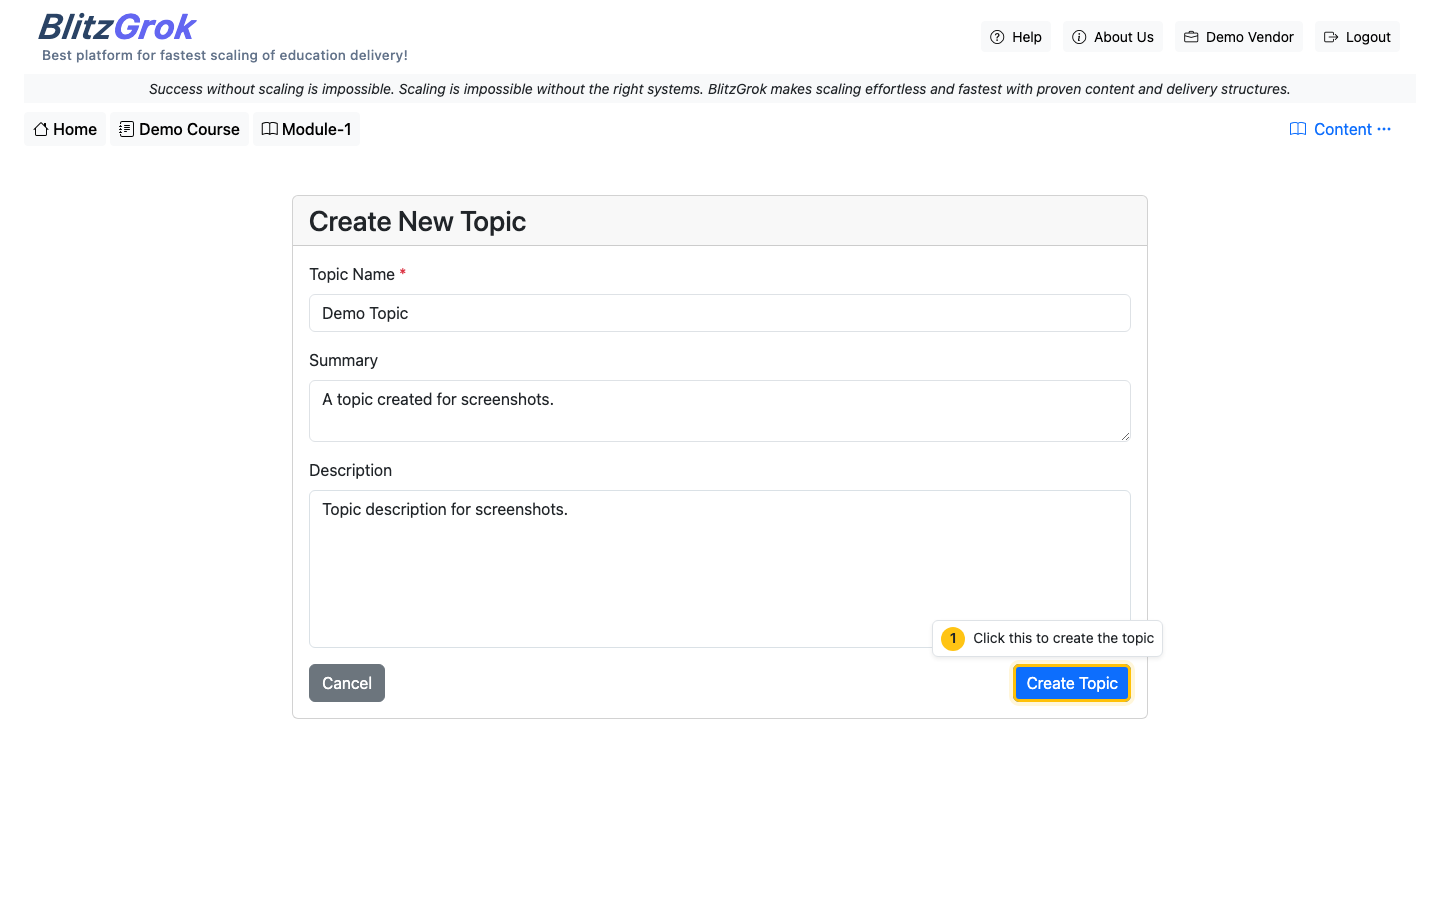
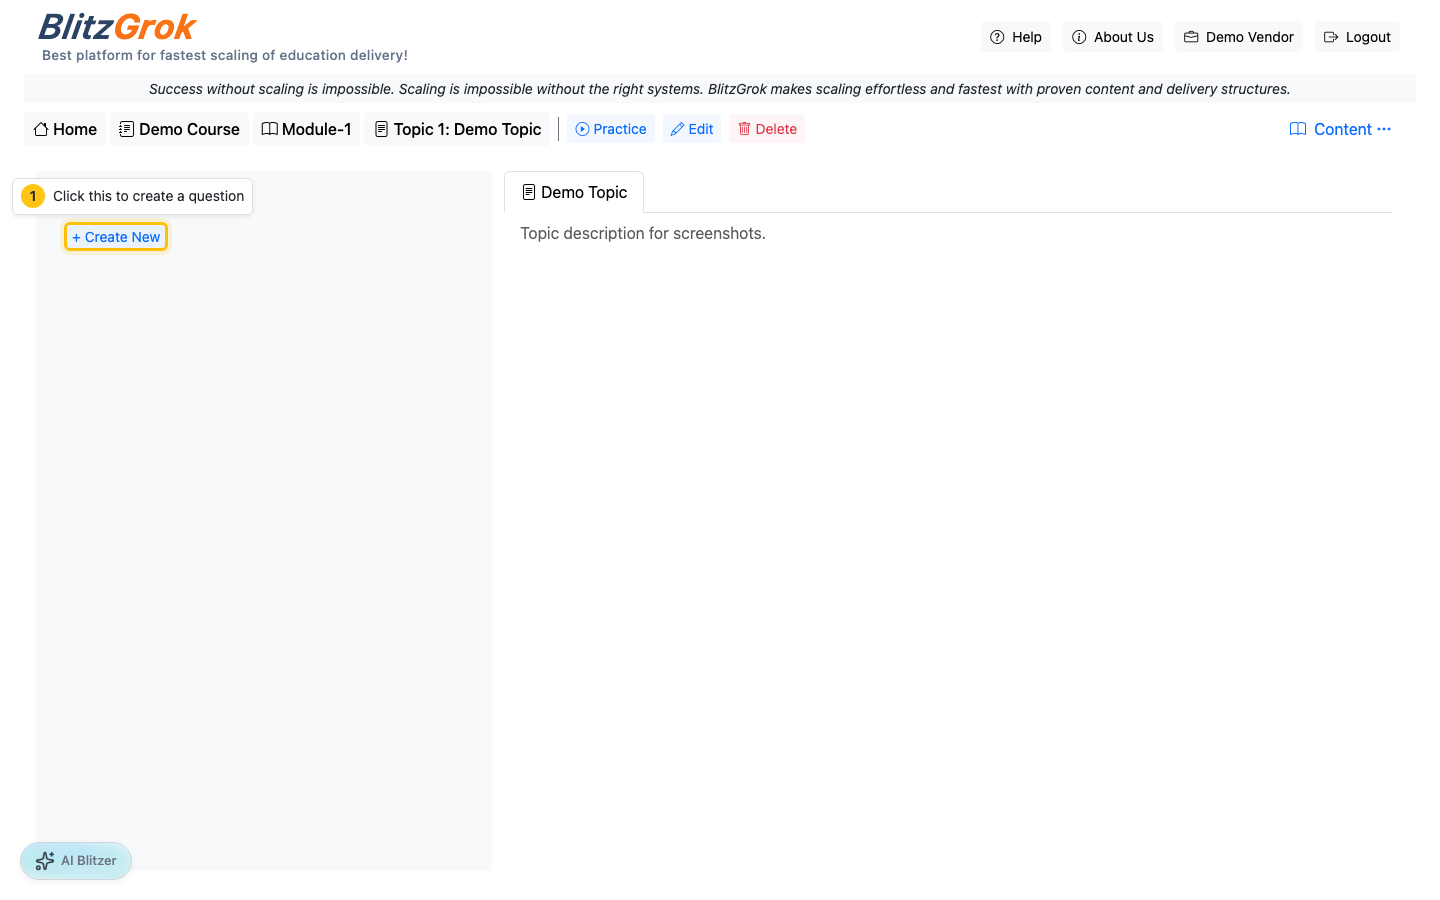
3 Add Topics (Inside Modules)
Topics are the practice units—each topic should cover one concept.
- Open a module
- Use “Add Topic”
- Keep topics narrow; prefer more small topics over fewer broad ones
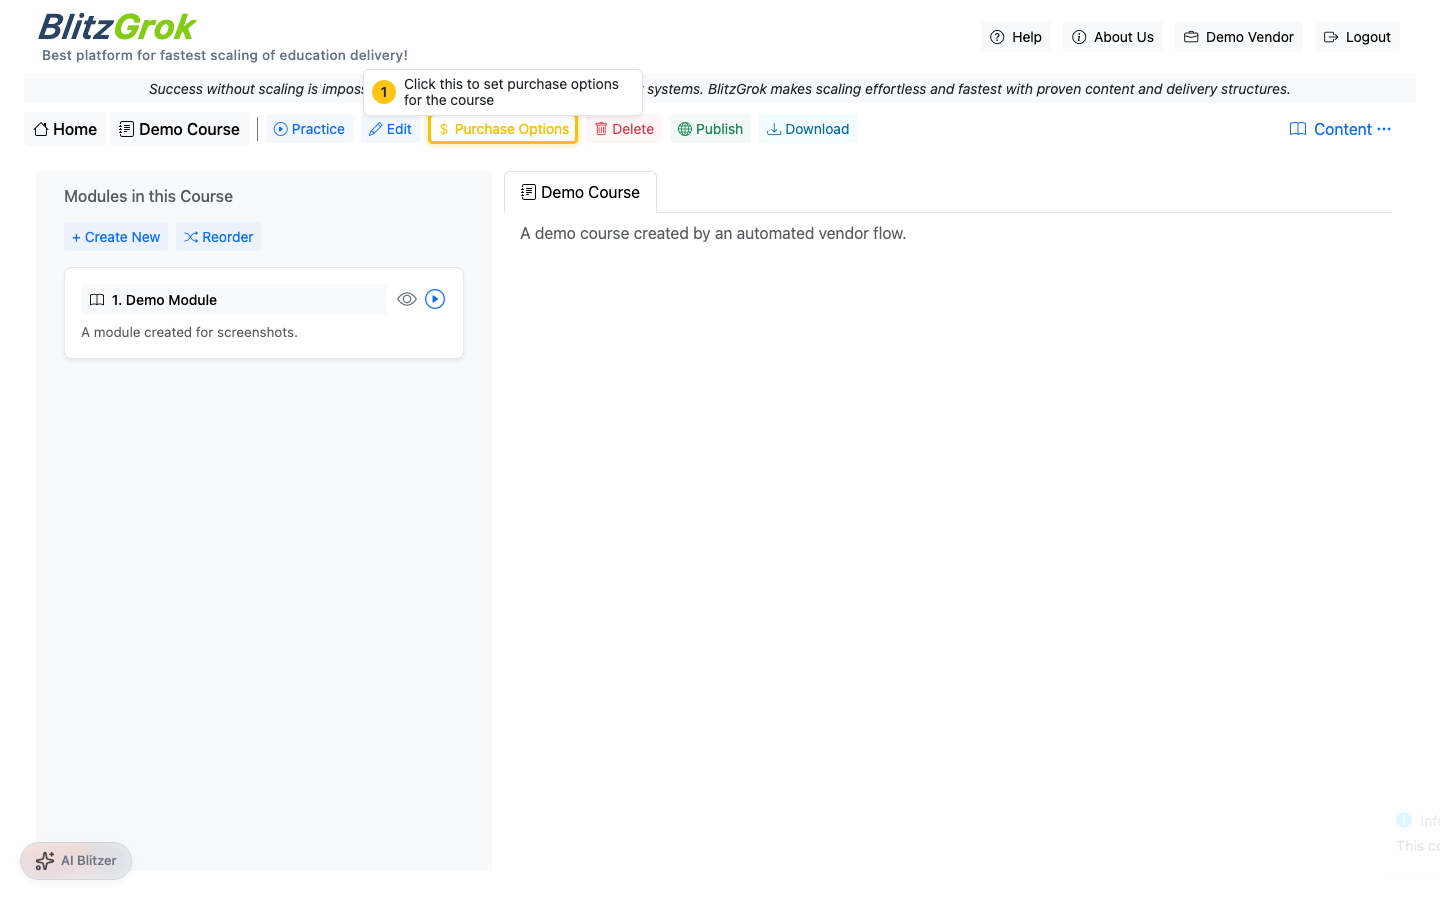
4 Set Purchase Options, Then Publish (Last Step)
When your course is ready, configure pricing (if needed) and then publish. Publishing is the final step—once published, students can discover and enroll/purchase.
- Open the course page
- Click Purchase Options to set pricing, then Save Purchase Options
- Click Publish to make the course available